Hey all!
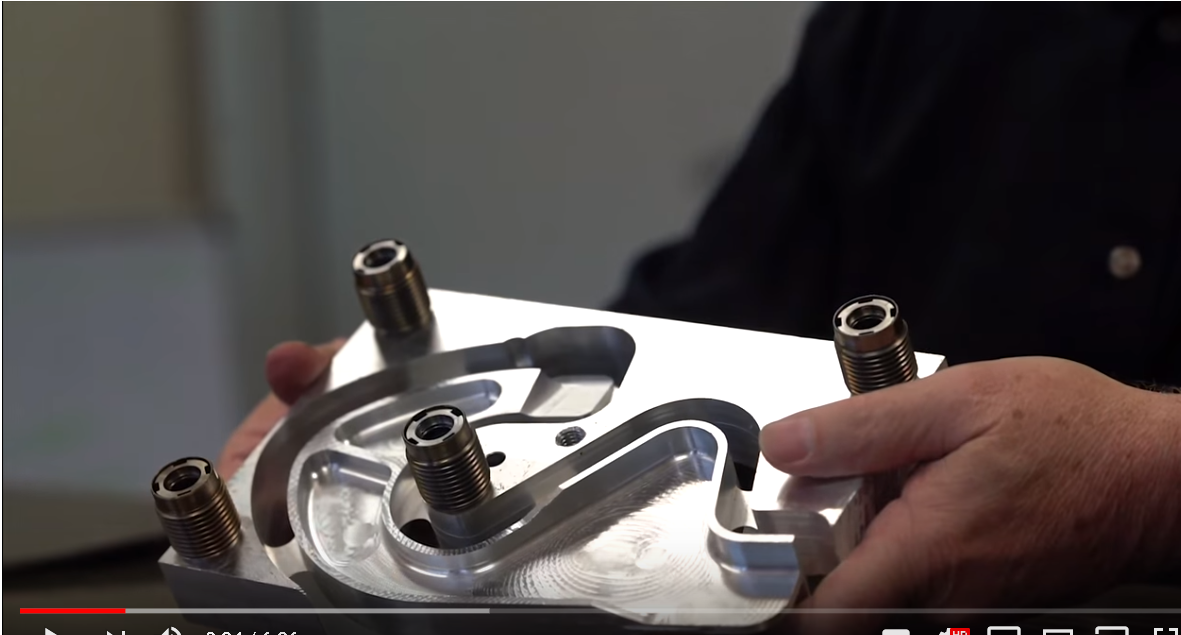
Today, I’ve got this interesting looking aerospace part. I thought I would go through and describe one of the key processes by which many of our Invert-A-Bolt™ Fasteners, you can see them connected to the back of this, are used. This is called Picture Framing.
Picture Framing
Legacy Method
So, a little history before we start. I came up back in the early 80’s, early 90’s being when we first started our business, as an apt NC programmer, meaning you wrote on paper. Back in those days we used to locate parts against datums. So, you would have a part that had 3 or 4 major datums and our fixturing would locate and assess and everything was located against that.
Best Method
A smart person then came up with the concept of holding and locating parts not respective to their datums. We would still use the datums but the things that we used to hold and locate them were only related to the datums. That is where we come into the idea of a picture frame.
This here is a great example. You have got this part and it might have one of these flanges which might be a datum. We are not locating against the datum and we are never going to use the datum, but, we are creating the datum within the concept of this frame or picture frame.
Picture Framing
This is the Billet that this part started from and inside the billet we have it’s holding, we can see that it is held with the Invert-A-Bolt™ Fasteners and then a locating situation where we have a pin or pins that are locating it. As long as we keep those locations constant throughout the process, we can keep the relationship to the datums correct as well. That is kind of the idea behind using a picture frame.
In our case, our Invert-A-Bolt™ Fasteners lend themselves very well to this process because they allow us to hold the parts and we can even machine down the frame right above the part or fastener or right along the edges of the fastener so that when we are done, all we must do is break the part out of the frame.
Tabbing
Now there are several different ways to do this tabbing, that is what we call this little runner right here is a tab. We have over the top tabs which are not shown here. We have a page on our website that describes this in a bit more detail and the part is like this one as well. On their, we have over the top tabs, along the flanges type tabs and then we have foil like tabs that are going to run along the bottom edge. More information about this is available on our website.
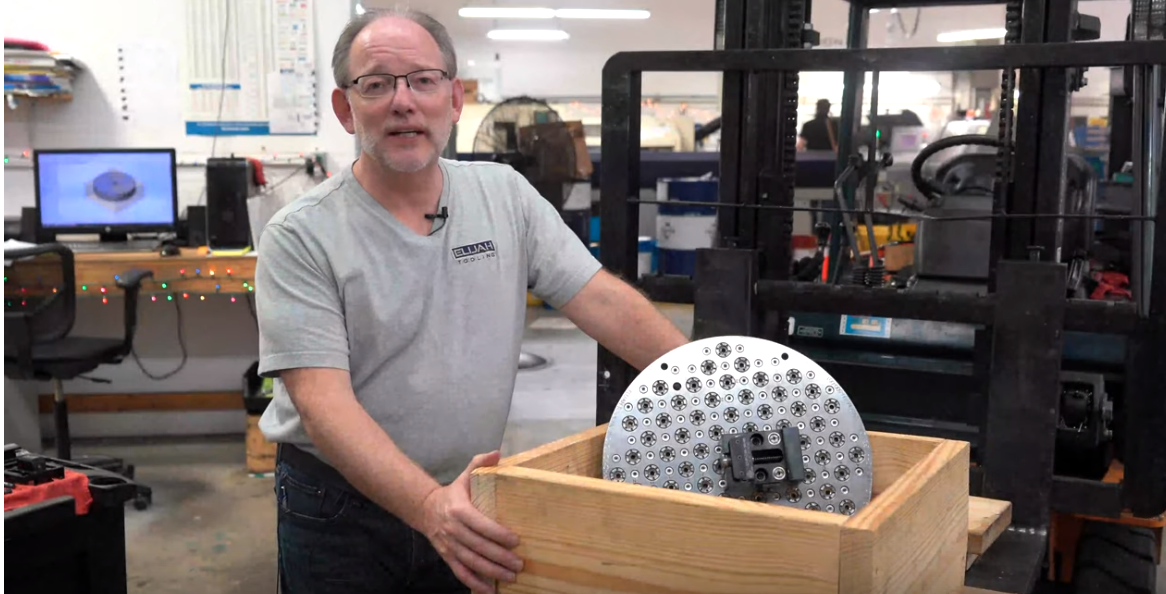
The idea is that our part comes out of this frame if we can use the frame back and forth in all of our processes and locate against it then we can make our part complete and we can hold our tolerances and our datums at a much lower cost in fixturing. In our case, we use a modular fixture so that you only have one fixture, permanently. You can then use your fasteners in the modular fixture wherever they happen to fit well with the geometry of the part.
The other thing that this type of fixturing does is that it lends itself to a situation where you can nest parts where you might have even ten or twenty parts in one nest and then you will have the Invert-A-Bolt™ Fasteners coming up whenever there is an opportunity for them to hold the piece.
Nesting
The concept looks like this: you machine it, you create a very stable setup. Generally starting with stage 1 which means that this is in a vice of some kind, ideally one of our modular vises. Stage 1 is preparing the part for the fixture where you will have the Invert-A-Bolt™ Fasteners, the Zipbushing™ and the Xzertz™ Retractable Locating Dowel Pin. This will enable you to flip it into that fixture and continue from there in that fixture.
Eventually, and towards the very end of the process, you are going to reveal the tabs when you are machining. The idea here being that you have a very stable situation, not only because you have these Invert-A-Bolt™ Fasteners that are very stable, the process itself is very stable.
At the end of the process, we reveal the tabs in the very last operation, and then we remove the Invert-A-Bolt™ Fasteners from it (the fastener is in the modular fixture plate). You take off the fasteners and then you snap the part out of the frame.
That is the idea, hope it has been helpful!
- Rick


Leave a comment
All comments are moderated before being published.
This site is protected by hCaptcha and the hCaptcha Privacy Policy and Terms of Service apply.