Today we're going to go through the steps required to make the holes so that we can install these two common products that are used in our fixtures.
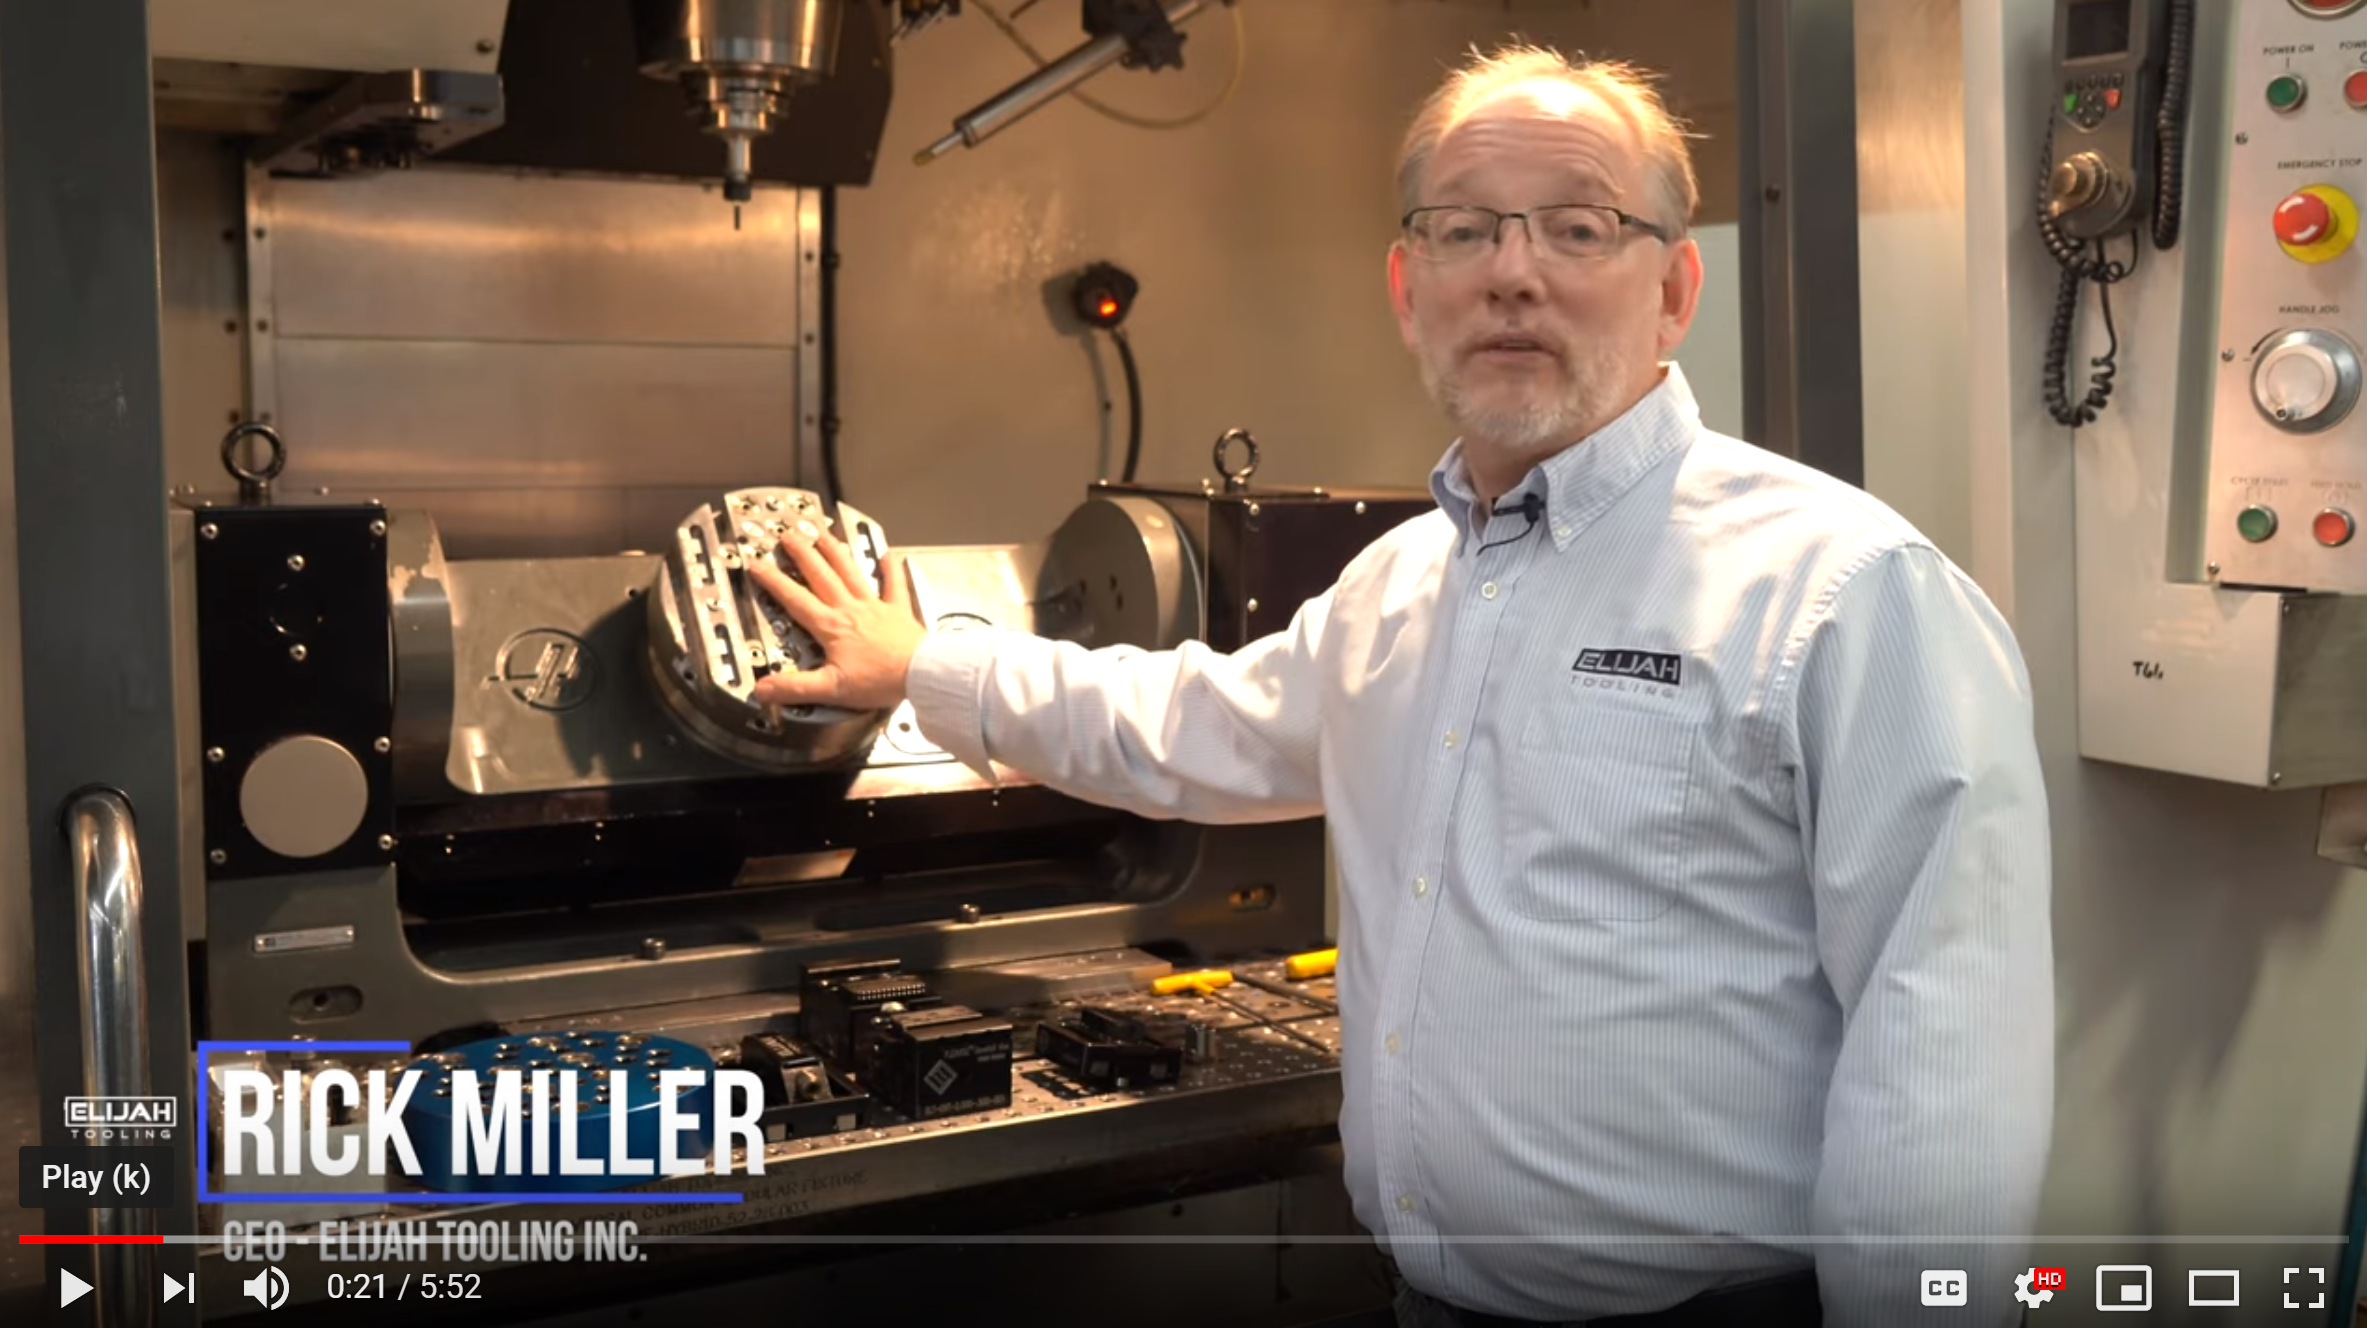
 So I've got a fixture that's in work right now.
So you can see that this fixture has the hole for the Invert-a-bolt Fastener and the hole for the ZipBushing, and that is the most common type of hole that goes into our fixtures. We're going to show you all the steps.

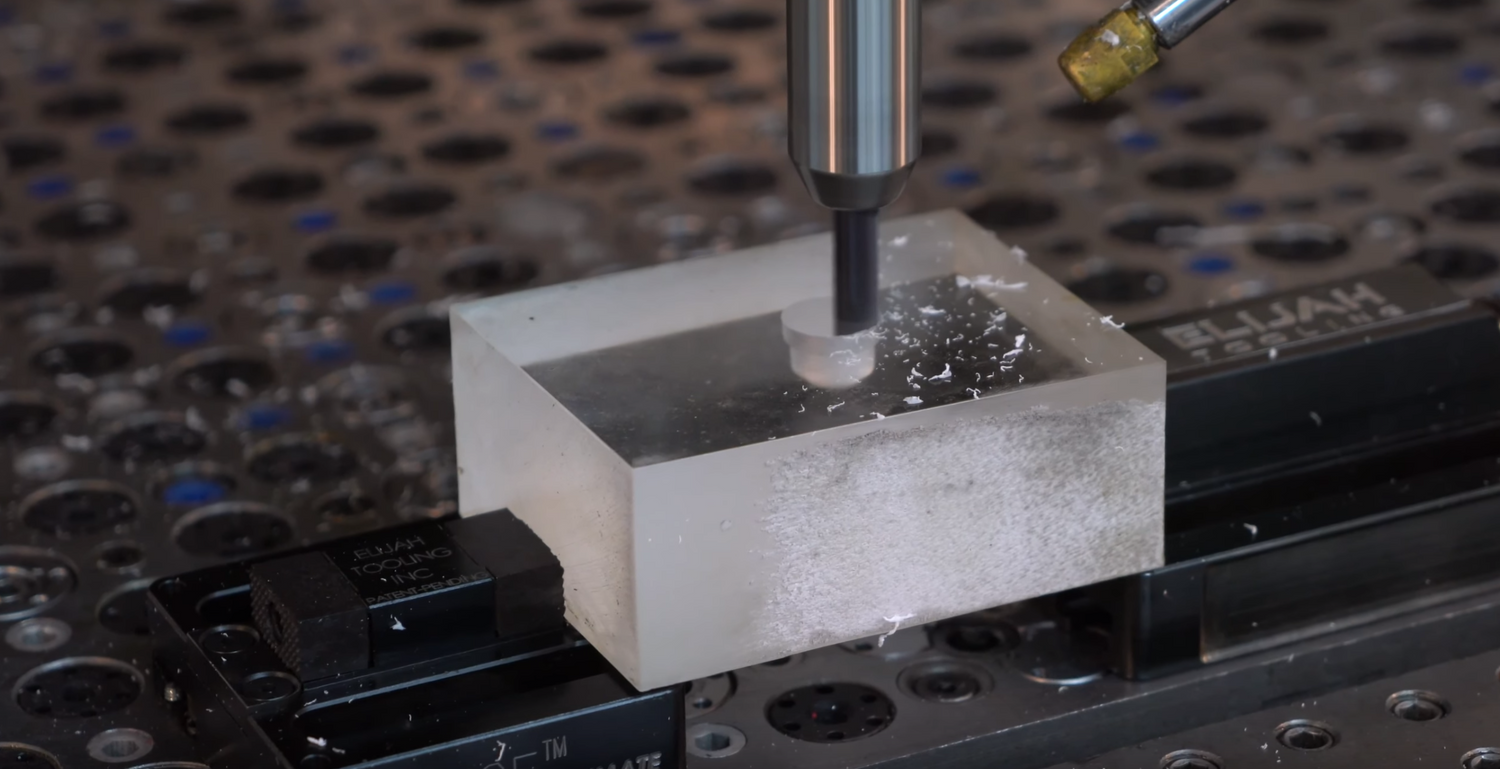
We're also going to use acrylic so that we can keep the doors open and run it sequentially.
So join me in just a second, and we'll get it going.
So, we've got it set up with the EZE Vise Ultimates and a nice piece of acrylic.

We're going to go through the process tool by tool to make the ZipBushing first, then we'll have a little break, and then we're going to make the Fastener hole, and then I'll install them.
I'll show you how we do all that.
First sure we're going to be roughing the hole for the ZipBushing, you guys are familiar with this. I'm not telling you anything you don't know.

All right, next tool is coming up, bigger; this is 5'8".
All right, yeah finishing the bore, it's not bored, we're circular interbulading it.

We can hold that very closely, by the way, a good way to get your tight tolerance with the use of the ZipBushing.
We got to do this properly we can hold + or - a couple of tenths all day long, and then positionally as well this is the threader.

We're going to thread mill for the outside thread of the ZipBushing, and that completes our hole all right, so we've got instruction sheets.

I'll put this in front of the camera.
These come with all of our product or many of our products, so it goes through the process of how we do this.
These come shipped with your product.
We're going to use the Pro-1, which is called out in our instruction sheet, and it tells us to use a setting of 4 so can we see this.
I am NOT going to use 4 for acrylic because I don't want to crack the block.
I may end up cracking the block anyway, but we'll try it.

But, here's your driver and take the ZipBushing and we are going to screw it in.
There you go. Beautiful.
Now we're going to go on to the Invert-a-Bolt Fastener.
All right this is the 3/4" through hole now it doesn't go through this block, but this is the size that we call out for the through-hole.

Now, this is going to do the ID of the thread once again we're just drilling straight now we're going to be doing the chamfer on top and last, but not least we're going to thread mill the 12 pitch for the outside thread there you.

It's as easy as that.
Let me once again show you our sheet that we use to install the fastener.
It goes through all the processes for you so you won't have any difficulty in doing this.
I'm going to go ahead and install a Fastener in the hole so on this particular setting.
We tell you to use the setting of 1 on our Pro-1.

Remember that this is a left-hand threaded product, and we typically will screw the fastener down almost to the bottom before we start torquing it so there we go the point of what we're doing here is to show you that it's very simple to install these products you can make your own modular fixture plate.

So great to spend time with you, and we'll see you next time.


Leave a comment
All comments are moderated before being published.
This site is protected by hCaptcha and the hCaptcha Privacy Policy and Terms of Service apply.